
- How To Tackle Jealousy In Creative Writing
- Common Submission Mistakes
- How To Stop Your Blog Becoming Boring
- The One Thing Every Successful Writer Has In Common
- How To Make Yourself Aware Of Publishing Scams
- Why Almost ALL Writers Make These Grammar Mistakes At Some Point
- 5 Tips For Authors On How To Deal With Rejection
- Top Mistakes to Avoid When Writing a Novel
- How to Avoid Common New Writer Mistakes
- 10 Mistakes New Fiction Writers Make
A Writer’s Guide To Google Docs

Hello again, and welcome back to Writer’s Life! Today, I will be presenting a writer’s guide to Google Docs, the free online word processing application from Google. As before, I will go over some ways to set up your Google Docs that should help streamline your writing process. I will also cover some things that may help when you have finished your project.
To start, I want to point out that Google Docs is a free program available for a wide range of platforms. The caveat to it being free is that you have to have a Google account of some kind, either a Gmail or Google user account or an account with Google Apps. If you don’t have either of these, you will need to create either a Gmail account or create a Google user account with your existing email. Once finished, you’ll be able to create your Docs documents. If you work for an organization that uses Google Apps, talk to your IT staff to get the details.
The base application is a web application, accessible from your Google account through the Google Drive. There are also apps available for Android and iOS that permit direct manipulation of Docs documents. Regardless of how you choose to work on your documents, there are a couple of steps that will make things go more smoothly for you when you are ready to sit down and write. One is to structure your document into logical parts, such as chapters and sections—or scenes or parts or what have you—and store your structure in the Google Drive just as you would a similar project on your hard drive. Create a folder with your project’s name or the book’s title on it at the root of your Google Drive, and then create at least two subfolders. One should be the manuscript itself, and the second one a storage folder for research, images, and so on. I recommend doing it this way to make it easier later when you are ready to edit and need to move or rearrange things. Some people may find it more convenient to store related items in the same folder with the document that refers to them. This strategy works well in Google Docs. Whatever structure you choose, remember that Google Drive allows you to store 15 GB total. Your Google Docs (and Sheets and Slides) documents do not count against that limit, though. That limit will apply to PDF files, certain images, non-native files like Word or plain text, and so forth.
There is a disadvantage of this approach unique to Google Docs, however. Unlike any of the other tools I’ve covered so far, there is no native way to combine multiple Google Docs files together. While this does complicate the divide-and-conquer approach, I believe it is still worth considering using that approach. The long-term ease of editing and rearranging documents separated by chapters or scenes will help offset the later complication of having to merge the documents.
With the structure of the project taken care of, consider the actual manuscript documents as well. In Google Docs—at least, as of the time of publication—there are only a few styles available for formatting. While it is possible to modify each style's formatting, their names are not. In addition, you cannot create personalized styles nor can you rename the ones that already exist. While there are add-ons for Docs that can handle this, not all add-ons for Docs (or Sheets or Slides) are available on the mobile devices. Please, keep that in mind if you plan to use your mobile device for editing. The good news is that Docs, like most other applications, does a reasonable job with exporting the correct fonts & sizes from Docs. Like most other applications, however, it will still be necessary to check the formatting on any document exported. This is particularly true of Word format (this is a common problem). The setup tips for Word from my earlier guide will help in this process. By creating the correct Styles in Word before opening the exported document, you can save some of the headache associated with having to reformat the entire document.
The bad news is that Docs, like most other applications—including Word itself!—do not export perfectly into other formats, especially Word format. This will necessitate going through the document to clean up formatting mistakes, particularly with things such as tables, as well as word wrapping with images or figures. One advantage of using Google Docs is the ability to share your documents. This can come in handy if you have outside reviewers or editors, or if you choose to use beta readers for your revised documents. By inviting users to edit or view the document, you can keep track of revisions and comments directly in the document. When done, then you can export the final document.
As with other tools, you can export Google Docs documents into other formats besides Word, including HTML. It is also possible to directly publish Google Docs items to the web. If you do so, you will get a direct link to the document as a web page. This you can then share, or embed within other documents. You can also export the document as an HTML page, which you can then open in the web editor of your choice. Like other apps, it will be necessary to review the exported document to ensure it looks the way you expect it to. It can also be exported as RTF or plain text, ready to copy and paste into your WordPress, Blogger, or another blog editor.
Thanks for reading a writer's guide to Google Docs. No matter what your eventual writing tool of choice, I hope I’ve been able to help you make an informed choice, as well as given you some tips to ease your process of writing! I will cover two other tools in an additional blog entry for PC users, tools that are comparable to the Mac-only applications of Storyist and Ulysses.
Related Posts

Stay Connected


-
 Writing Tips for Adding Internal Conflict to Action Scenes
Internal Conflict in Action is like the secret ingredient...
- July 23, 2025
-
 How to Get More Writing Done in Less Time
Writing efficiency is something all writers strive for, but...
- July 23, 2025
-
 10 Writing Myths That Waste Your Time and Energy
Writing myths have a way of sneaking into our...
- July 23, 2025
-
Writing Tips for Adding Internal Conflict to Action Scenes
Internal Conflict in Action is like the secret ingredient...
- July 23, 2025
-
 Writing Prompt Basics: Tips for New Writers
"Share, Like or Tweet If You Love Writing" Even...
- January 31, 2015
-
 How to Avoid Common New Writer Mistakes
"Share, Like or Tweet If You Love Writing" So...
- January 31, 2015
-
 10 Mistakes New Fiction Writers Make
"Share, Like or Tweet If You Love Writing" For...
- January 31, 2015
-
 25 Things to Know About Self-Publishing Your Book
"Share, Like or Tweet If You Love Writing" A...
- January 31, 2015
-
 How To Self-Publish Your Book On Amazon
Not so long ago, the first hurdle for an...
- January 31, 2015
-
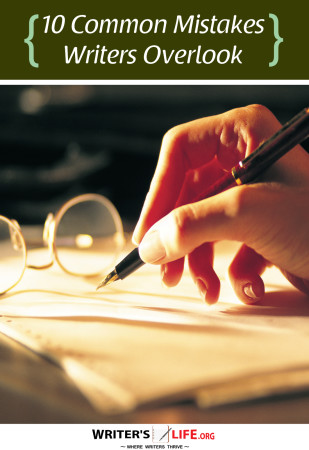 10 Common Mistakes Writers Overlook
"Share, Like or Tweet If You Love Writing" Like...
- January 30, 2015
-
 10 Unbelievably Simple Ways to Write Your Book In 60 Days or Less! (What most publishing houses don’t want you to know)
"Share, Like or Tweet If You Love Writing" Whether...
- January 30, 2015
-
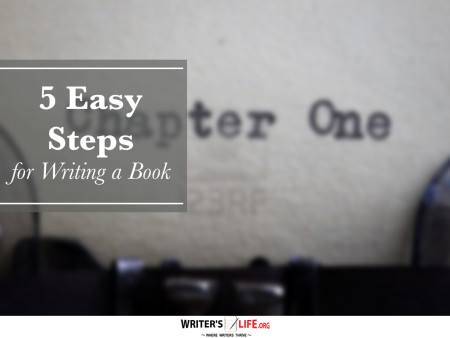 5 Easy Steps for Writing a Book
"Share, Like or Tweet If You Love Writing" Writing...
- January 27, 2015
-
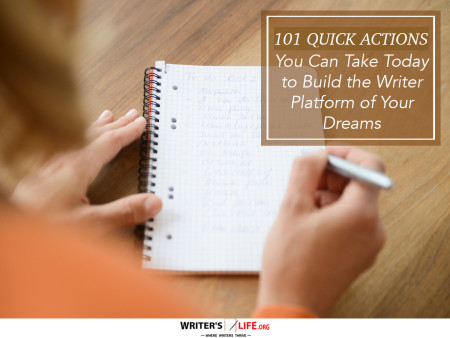 101 Quick Actions You Can Take Today to Build the Writer Platform of Your Dreams
"Share, Like or Tweet If You Love Writing" 101...
- January 19, 2015